
Welcome Email
Last updated
1. Overall Process & Purpose
What This Feature Does
The Welcome Email is sent after an applicant has accepted an offer and moved into the Hired stage. It serves as the official confirmation that the candidate is joining the company and provides next-step information before onboarding or employee conversion.
Why This Feature Exists
The Welcome Email exists to:
- Formally acknowledge offer acceptance
- Set expectations for next steps
- Provide a positive, professional transition from candidate to employee
- Ensure consistent messaging across all new hires
Value Provided
- Recruiters can send a standardized welcome without manual drafting
- New Hires receive clear confirmation and guidance
- HR maintains consistent communication and recordkeeping
2. Definitions
| Term | Definition |
|---|---|
| Welcome Email | Email sent to the applicant after offer acceptance |
| Welcome Template | Preconfigured email template for new hires |
| Hired Stage | Workflow stage indicating the applicant has accepted the offer |
| Default HR | System-defined sender email |
| Email Category: Welcome | Template category that surfaces at the Hired stage |
3. Step-by-Step Directions
Step 1: Move Applicant to Hired Stage
- Open the applicant’s Job Application
- Confirm the offer has been accepted
- Click Next Stage: Hired
Once in the Hired stage, new actions become available.
Step 2: Open the Welcome Email
- From the Job Application, click Welcome Email
You will be redirected to the email composition screen.

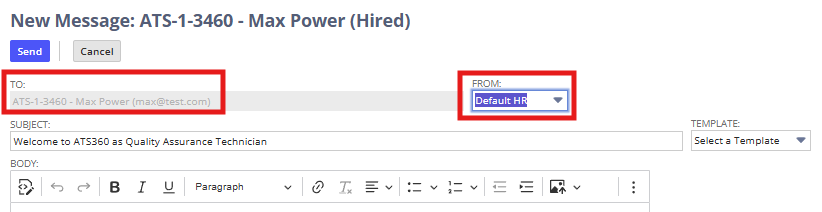
Step 3: Review Recipient and Sender
Auto-Populated Fields
- To: Applicant’s email address
- From: Default HR
Optional Action
- Change sender to Current User if appropriate
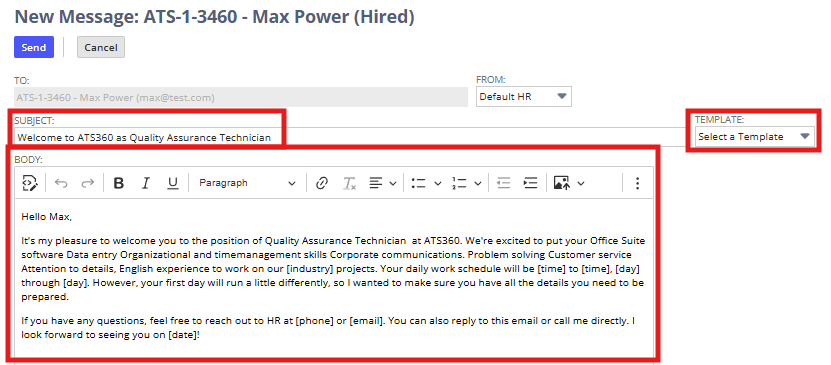
Step 4: Select and Review the Welcome Template
- Select a Welcome Email Template (if multiple exist)
- Review:
- Subject line
- Email body
System Behavior
- The email is pre-populated using the selected template
- Dynamic fields populate automatically from the applicant record
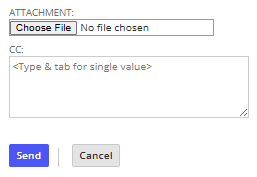
Step 5: Optional Attachments and CCs
- Attach files from your computer (optional)
- Add CC recipients (optional)
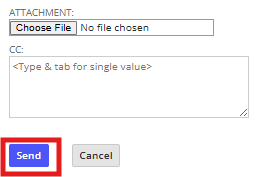
Step 6: Send the Welcome Email
- Review all content
- Click Send
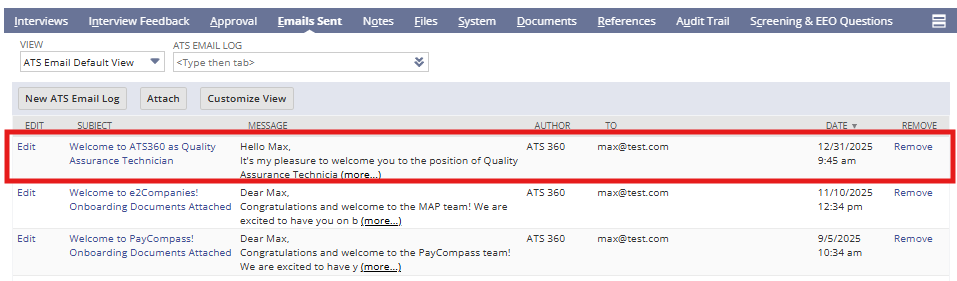
Step 7: Verify Email Logging
- Return to the Job Application
- Open the Email Sent subtab
The Welcome Email appears with full details and timestamp.
4. Summary of Outcome
When the Welcome Email is sent successfully:
- The new hire receives formal confirmation of employment
- Next steps are clearly communicated
- The communication is logged for future reference
- The application is ready for onboarding or employee conversion
The Welcome Email provides a professional, consistent transition from candidate to employee within ATS360.